Transmitter volume can be configured deep in the menu. I wanted to make it quick, to squeeze the volume home and to max it when flying. I have a potentiometer free, that i can use.
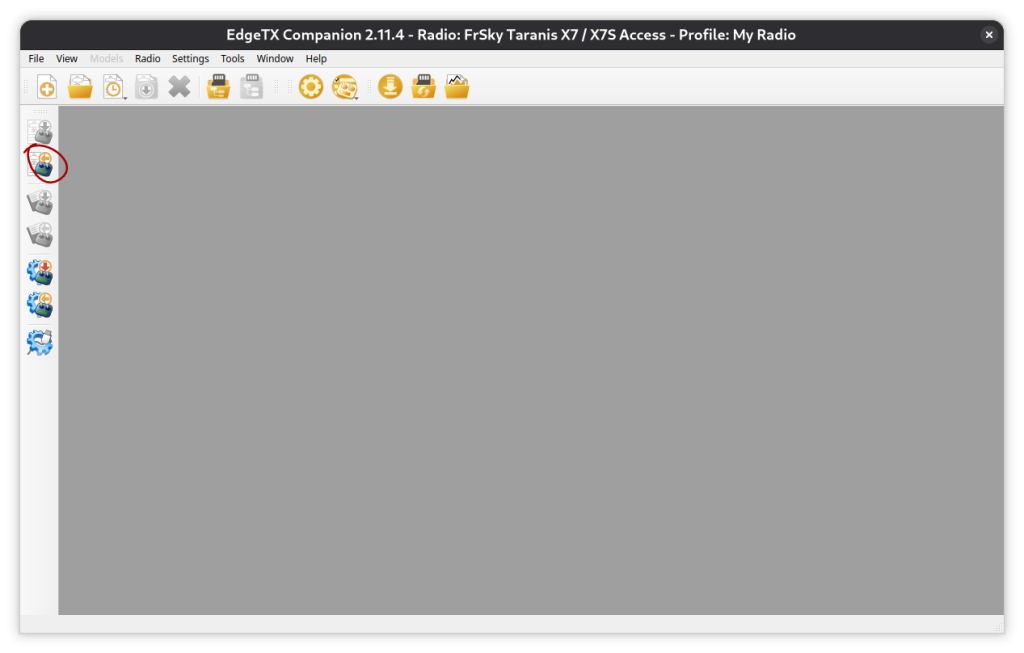
Let’s use edgetx companion, configuring this in transmitter user interface would be horrible.
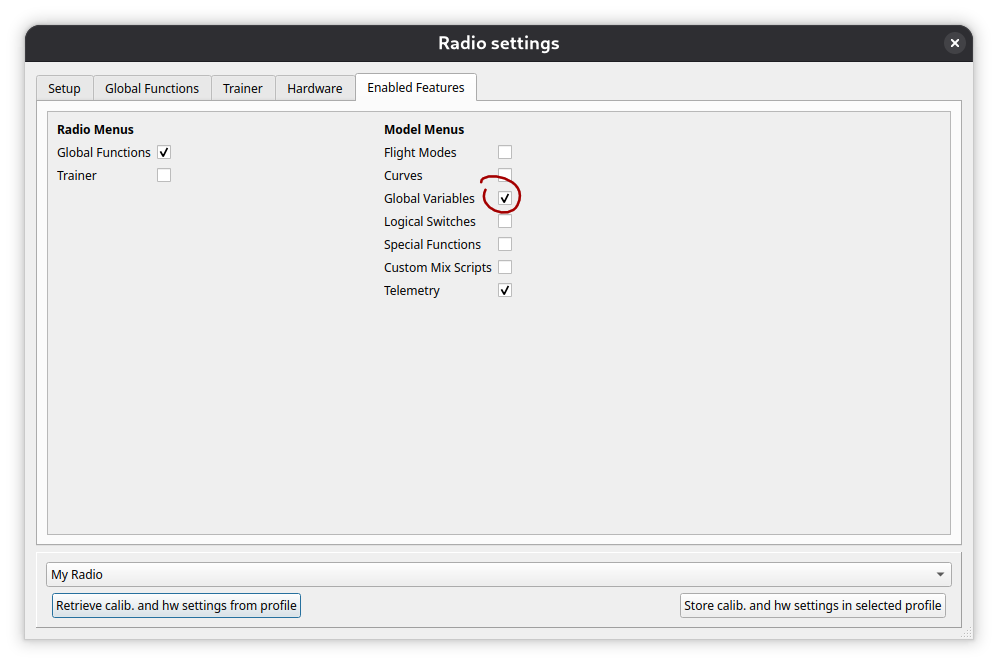
First, open radio settings and enable global functions. I think global function are enabled by default, but i have disabled it together with everything i don’t need.
Now we add a global function for the actual volume control.
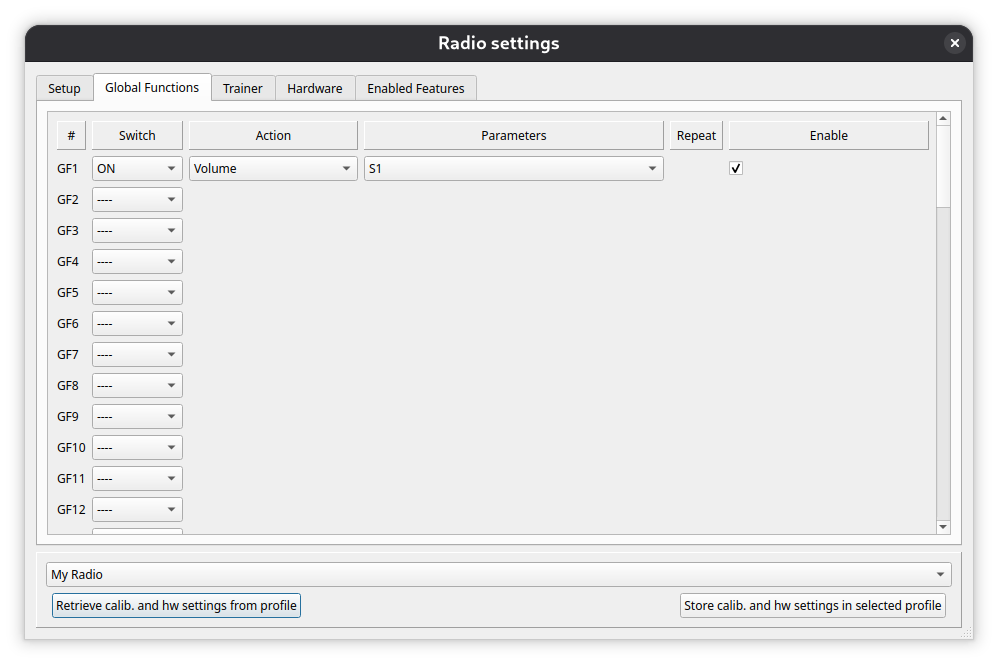
We need to select ‘ON’ as a switch, ‘Volume’ for action. Parameter is the potentiometer we want to use, S1, S2, or similar. Also make sure the action is enabled.
That’s it, we can save the settings now
Now just remove the usb connection to the transmitter and it should work!